
Room-by-Room Decluttering: A Practical Walkthrough for Any Home Size
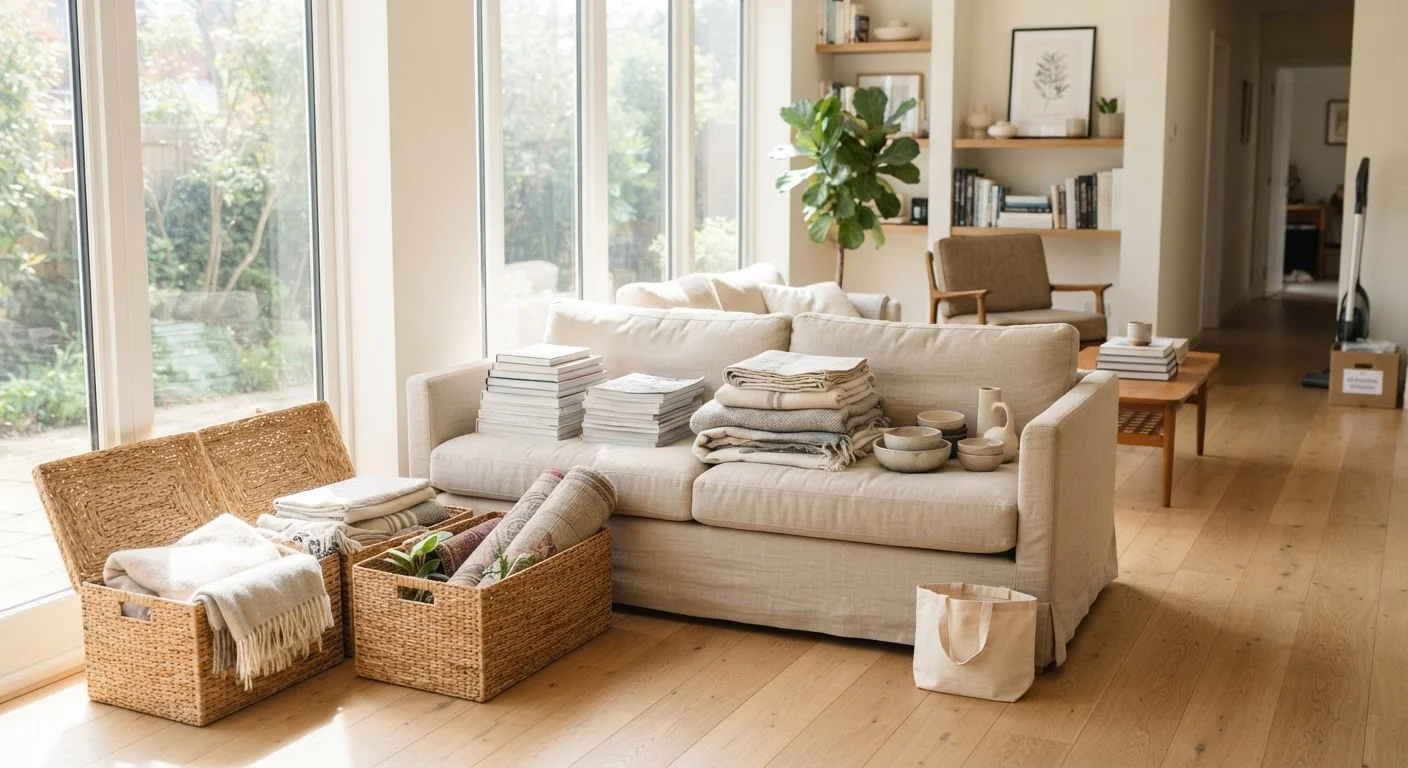
Photo credit: PrimeReads.net | Discover Insightful And Creative Blogs
In this article
A structured approach to decluttering every room in your home, from the kitchen to the bedroom, without getting overwhelmed.
Key Takeaways
- Tackling one room at a time prevents overwhelm and produces visible, motivating results.
- A simple keep, donate, discard framework works across every room in the home.
- High-traffic zones like kitchens and entryways deserve priority attention first.
- Decluttering is more effective when repeated seasonally rather than done just once.
- Household systems work best when everyone in the home is involved in the process.
Why a Room-by-Room Approach Works
Whole-home decluttering projects fail most often for one reason: they're treated as a single, undifferentiated task. When everything needs attention simultaneously, the project becomes paralyzing. A room-by-room method breaks the work into contained, completable units - each session has a clear start, a clear end, and a visible result.
If you're new to home organization and feel unsure where to start, the foundational principles guide covers the mindset and framework to approach it with confidence before you begin the physical work.
This walkthrough sequences rooms by impact: starting with high-traffic, high-visibility zones where progress is immediately felt, then moving into more personal or dense areas. The sequence is a recommendation, not a rule - adapt it to your home's layout and your available time.
Use a Simple Three-Box System
Before entering any room, set up three clearly labeled containers: Keep, Donate/Sell, and Discard. Making decisions in the moment - rather than setting items aside to decide later - prevents clutter from simply migrating to a new location. Work through every surface and drawer before moving to the next room.
What to Do Before You Begin
A small amount of preparation makes each session significantly more productive. Gather your sorting supplies, notify anyone else in the household that a particular room will be in flux, and decide in advance where donations will go. Having a destination for outgoing items prevents bags of donations from sitting in a corner for weeks.
What you will need
For homes with multiple residents, the process works best when everyone agrees on shared space decisions. See the guide to organizing shared spaces for approaches that account for different habits and preferences under one roof.
Don't Try to Do It All at Once
Attempting to declutter an entire home in a single session is one of the most common reasons people quit halfway. Commit to one room - or even one zone within a room - per session. Visible progress is what builds momentum, not ambitious marathon days that leave you exhausted and surrounded by even more mess.
Room-by-Room Walkthrough
The steps below cover each primary zone in a typical home. Work through them in order, or pick the room causing you the most daily friction and start there. Either approach works - the only wrong move is attempting every room on the same day.
Sturdy cardboard boxes or bins (×3)
Used to sort items into Keep, Donate, and Discard categories during each room session.
Sticky labels or marker
Label boxes and storage containers clearly so decisions stick and items don't migrate back.
Donation bags (large drawstring or garbage bags)
Contain donate and discard items separately so they leave the home promptly after each session.
Notepad or phone notes app
Track items you decide to rehome, sell, or replace so follow-up tasks don't get forgotten.
Timer
Set focused work intervals (30-45 minutes) to maintain energy and avoid decision fatigue.
Start with the entryway or front hallway
The entryway sets the tone for the whole home. Clear every surface - the console table, coat hooks, shoe rack, and floor - completely. Return only what genuinely belongs there and is used daily. Shoes, coats, bags, and keys are legitimate; old mail, random chargers, and items waiting to be put away elsewhere are not.
Tackle the kitchen in zones
The kitchen is dense with decisions, so divide it into zones: countertops, upper cabinets, lower cabinets, the pantry, and the junk drawer. Work one zone per pass. Remove everything from the zone, wipe the surface, and return only items used at least monthly. Duplicate utensils, expired pantry goods, and appliances that never come out of storage are prime candidates for removal.
Move to the main living area
Living rooms accumulate miscellaneous items from every other room in the house. Start by removing anything that doesn't belong in the space at all. Then address media collections, decorative objects, blankets, and shelving. Keep surfaces intentional - a few meaningful objects rather than a crowded arrangement. Storage ottomans and baskets can contain everyday items without adding visual noise.
Work through each bedroom
Begin with the closet before touching anything else in the bedroom. Remove all clothing and return only items that fit, are worn regularly, and are in good condition. Once the closet is resolved, address the nightstand, under-bed storage, and any flat surfaces. The bedroom should support rest - surfaces covered in clutter disrupt that function.
Clear the bathroom ruthlessly
Bathrooms are small and fill quickly with expired products, duplicates, and items that drifted in from elsewhere. Discard anything expired or nearly empty, consolidate duplicates, and remove products that simply didn't work. Assign every item a fixed location - products without a home tend to multiply on the counter.
Address storage areas last (garage, basement, attic)
Storage areas are where items go to become invisible - and where clutter compounds unchecked. These spaces take the most time, so save them for last when your decision-making confidence is stronger. Divide into categories (tools, seasonal items, sports equipment, sentimental items) and apply the same keep-donate-discard framework. Anything stored here should serve a clear, specific purpose.
Avoid the 'Just in Case' Trap
Holding onto items because you might need them someday is the single biggest obstacle to a decluttered home. If an object hasn't been used in over a year and has no clear future purpose, it's a strong candidate for removal. Keeping too many 'just in case' items defeats the work before it starts.
Making the Results Last
Decluttering once produces a cleaner home. Decluttering as part of a regular rhythm produces a home that stays manageable. A quarterly or seasonal pass through the same rooms - even a lighter version - prevents accumulation from rebuilding. The seasonal home reset checklist is a practical companion for keeping each room in check across the year.
For compact homes where space constraints amplify every clutter problem, the small-space organization guide offers strategies tailored to limited square footage. And once the physical work is done, the real challenge is sustaining it - the habits that keep a home organized long-term identifies the small daily actions that do the most work over time.

Author
Living Editorial Team
Living Editorial Team is the collective byline for our editorial team and contributor network. Articles published under this byline or an editorial pen name are researched, written, and reviewed according to our editorial standards for clarity, consistency, and independence before publication.
View all articles →